
The Ultimate Event Planner Checklist: A Step-by-Step Guide

TL;DR –
Planning a wedding, birthday, corporate event, or fundraiser? Break it down with this step-by-step checklist:
- Pre-Planning (6–12+ months out): Set goals, define your audience, draft a budget, pick a date, choose a venue, and form your team.
- Booking (3–9 months out): Finalize your venue, hire key vendors, secure accommodations, and handle permits/insurance.
- Logistics (2–6 months out): Brand and promote your event, manage registration/tickets, finalize catering and decor, and arrange staffing/equipment.
- Final Prep (Weeks before): Confirm all bookings, test tech, prepare materials, walk the venue, and plan for emergencies.
- Event Day: Arrive early, oversee setup, coordinate vendors, monitor schedule, greet guests, and capture memories.
- Post-Event Wrap-Up: Clean up, settle finances, thank participants, gather feedback, evaluate success, and debrief with your team.
Pro Tip: Use tools like Trello, Asana, Smartsheet, or Time.ly templates to keep tasks organized and ensure nothing is overlooked.
Planning a successful event—whether a wedding, birthday party, corporate meeting, or fundraiser—requires organizing dozens of details and deadlines. An event planner checklist acts like a roadmap, breaking down the process into manageable tasks and timeline stages. Even if you’re searching for an “event planner checklist near me”, the core steps remain the same: setting goals, budgeting, booking a venue, coordinating vendors, and handling logistics. This guide lays out a comprehensive timeline (Pre-Planning, Booking, Logistics, Final Prep, Event Day, Post-Event) with tasks at each stage. We’ll also highlight useful templates and tools, and cover FAQs like “What goes on a checklist?” and “Do I really need a pro?”
Sometimes, planning an event also involves finding the right venue for hosting. For example, if you’re in New Jersey and looking for a stunning banquet hall, Royal Albert Palace is often considered a go-to choice for large celebrations because of its elegant spaces and catering options.
Pre-Planning (6–12+ Months Before)
Spend plenty of time planning ahead of time to lay the groundwork for your bookings. Define the event’s purpose and target audience, estimate your budget, and outline the big-picture details. Recruit an organizing team and assign roles (e.g. logistics lead, finance lead, marketing lead). Early on, look into potential venues (capacity, location, amenities) and dates. Wall’s Event Checklist suggests key pre-event tasks like setting goals, preparing a draft budget, choosing a date and venue, and identifying the audience for invitations.
Photography is another early decision to think about. For instance, if you’re planning a sports-themed event or need action shots, a professional like Avery Sports Photo could be a perfect fit to capture the energy of the day.
- Define goals & objectives: Clarify your event’s purpose (fundraising, corporate training, celebration, etc.) and set success metrics (attendance numbers, funds raised, customer leads). As one event planner warns, “not setting clear objectives” is a common mistake that leaves events unfocused.
If your event is a wedding, you’ll also want to think ahead about the transition from ceremony to wedding reception, since each part of the day requires its own planning and vendor coordination. - Create budget: Estimate all costs (venue rental, catering, decor, equipment, etc.) and build in extra cushion. Forgetting or exceeding your budget can doom an event, so set realistic limits from the start and update them as plans evolve.
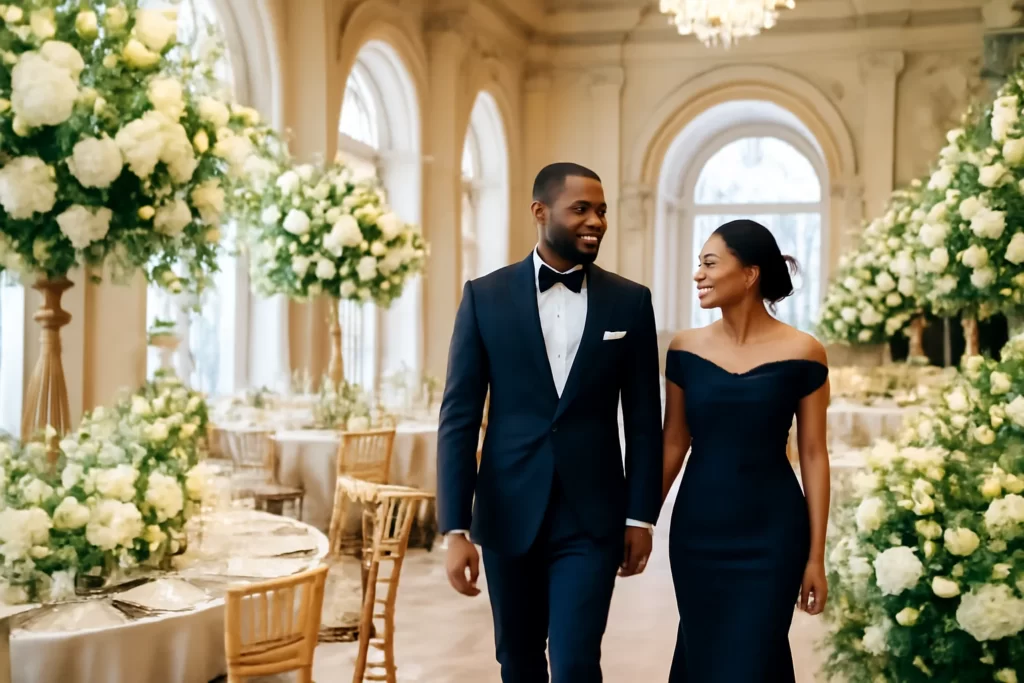
When considering venues, don’t overlook regional gems. For example, couples exploring the East Coast often fall in love with Wedding Venues in Washington, DC thanks to their mix of historic and modern backdrops. - Pick a date & venue: Choose an event date with at least 6–12 months lead time for popular venues. Check for conflicts (holidays, major local events). Once you have a date, negotiate and tentatively hold a suitable venue. If your event needs permits (outdoor/public space, street closure, liquor license) or insurance, start that process now.
Those planning around the Maryland area often search for nearby options such as Wedding Venues in Rockville MD, which are known for their convenience and versatility. - Form your team: Identify key staff or volunteers and assign roles. Walls.io recommends creating an event timeline or agenda even at this stage so everyone knows major milestones. Consider committees (e.g. catering, entertainment, marketing) for larger events.
If your event is more intimate, you might even consider Micro Weddings, which are becoming increasingly popular for couples who want a meaningful celebration without the stress of managing a huge guest list. - Develop initial plan & timeline: Sketch a master timeline or project plan covering all phases. According to Cvent, you should “appoint your chosen venue and confirm your suppliers” six to nine months in advance. At this stage, jot down all known tasks (use sticky notes or a project tool).
This is also a good time to map out smaller gatherings like bridal showers. If you’re based nearby, you’ll find plenty of beautiful Bridal Shower Locations Maryland that provide a warm and welcoming atmosphere.
These early steps ensure that later tasks (like booking vendors or promoting the event) are grounded in clear goals. If you need tools, free templates are available: for example, Time.ly provides a customizable event planning checklist template you can download and adapt. Platforms like Smartsheet also offer free Excel/Word/PDF event checklist templates. Using templates helps ensure you never miss a critical task in this phase.
Booking (3–9 Months Before)
Once the foundation is laid, proceed to book key elements. Secure your venue and essential vendors early. According to Cvent, you should “appoint your chosen venue and confirm your suppliers” six to nine months in advance. Similarly, Time.ly’s checklist tells us to “finalize the event date,” “choose a venue,” and “coordinate with suppliers for catering, equipment rentals, or staff travel”.
For milestone celebrations like a 10th wedding anniversary, this stage also involves gift planning. A resource like this list of 10 Year Anniversary Gift ideas can inspire thoughtful ways to surprise your partner during the event.
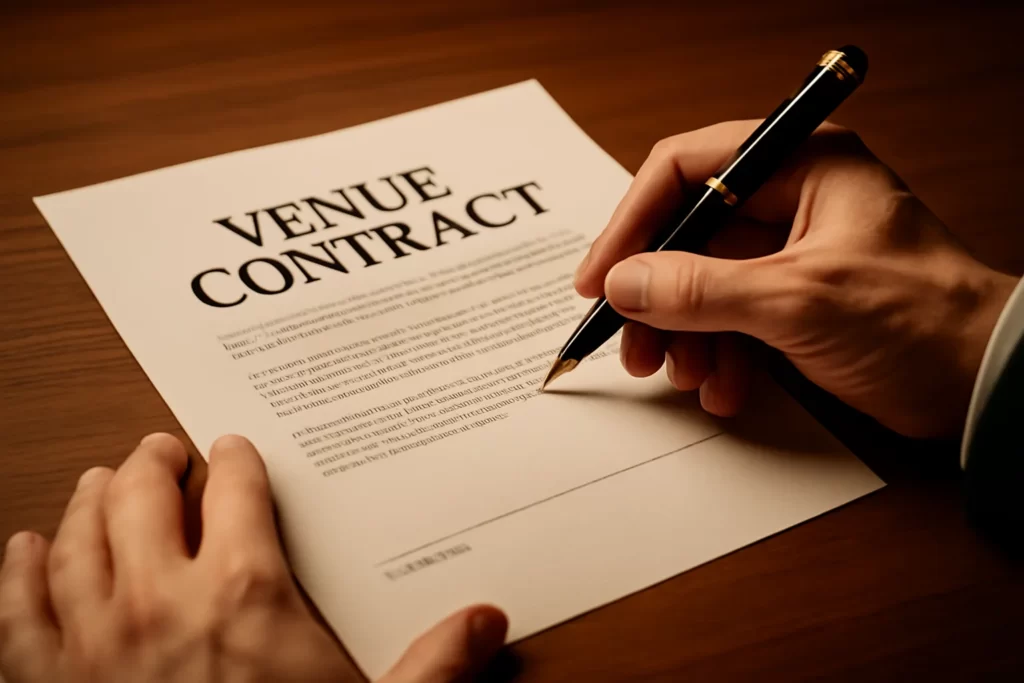
- Finalize venue & date: Immediately confirm the venue by signing the contract and paying deposits. Lock in the date so you can advertise and book other services with confidence.
- Book vendors: Hire key vendors (caterer, caterers, AV/tech crew, photographers, entertainers, florists, etc.). For each, sign contracts and note deposit schedules. Select entertainment and speakers now. If you have an emcee or host, book them too.
- Arrange accommodations and transport (if needed): If you expect out-of-town guests, arrange hotel room blocks or provide travel info. Consider shuttle or parking logistics.
- Legal & permits: Complete any event-specific paperwork. For example, secure city permits, insurance certificates, or health permits (required for large events or food sales).
- Coordination with venue: Discuss logistics with the venue (room layout, AV needs, staffing, setup/cleanup arrangements). Start drafting a basic floor plan.
By booking well in advance, you avoid last-minute rushes. As Time.ly notes, “Careful attention to these logistical details ensures your event runs smoothly”. Keep copies of all contracts and share them with your team via a project management tool (Trello, Asana, Google Drive, etc. all work well).
Logistics (2–6 Months Before)
With bookings in place, focus on the many logistical and promotional details that make your event happen. This includes event branding, marketing, and registration processes.
- Event branding & promotion: Develop a cohesive theme or brand (logo, colors, tagline). Create invitations or a marketing campaign (emails, flyers, social media) and send “Save the Date” notices. Publish an event page or calendar listing—Time.ly suggests using an online calendar or event site to list details and let attendees share. Ramp up publicity in the months prior: Cvent’s timeline says 3–6 months out you should “double down on your event marketing and step up the promotion”.
- Manage registration/tickets: If you charge admission or need RSVPs, set up an online registration system or ticketing portal. Time.ly’s checklist recommends early-bird discounts and managing waitlists for oversubscribed events. Keep track of attendee counts so you know if marketing is on track.
- Finalize event schedule: Draft a detailed program or agenda (timing for speakers, performances, meals, breaks). Circulate this to staff and vendors.
If you’re hosting in Texas, you might also want to explore Wedding Venues San Antonio TX for spaces that blend cultural heritage with modern hospitality. - Coordinate catering and decor: Confirm menus (including special diets) with the caterer and finalize decor themes with florists/decorators.
- Arrange equipment & staffing: Order or rent any remaining items (tables, chairs, tent, signage, AV equipment). Hire temporary staff or arrange volunteers (for registration desk, parking, ushers). Ensure safety measures: hire security if needed.
- Engage sponsors or partners (for fundraisers): Reach out to potential sponsors, set benefit packages, and confirm agreements.
By this stage, your event is taking shape. Time.ly stresses that promotion and logistics go hand-in-hand: “These promotional strategies will help you generate excitement and maximize visibility”, while effective registration planning “simplifies logistics and enhances the attendee experience”. Use checklists to track each channel: for example, one checklist might be “Email marketing – Date sent, audience list, open rate.”
Final Preparations (Last Days to Weeks)

As the date approaches, focus on final confirmations and checks. This is the time to dot all i’s and cross all:
- Confirm all bookings: Check in with every vendor (caterer, AV, décor, etc.) a week before to confirm arrival times and requirements. Review contracts to ensure everything is covered.
- Review staffing: Finalize the schedule for staff/volunteers. Ensure everyone has clear assignments. Provide briefings or training if needed (e.g., how to run the registration desk).
- Test technology: Arrange a walk-through or test run of A/V equipment, sound system, microphones, and any presentation tech. Ensure backups for critical tech (extra projector bulb, backup laptop).
- Prepare materials: Print signage, name tags, programs, name placards, checklists or cue cards, and any branded materials. Assemble welcome packets or swag bags.
- Double-check logistics: Walk the venue layout. Confirm seating charts, table placements, and traffic flow. Plan for parking and signage. Walls.io’s checklist suggests arriving early to inspect the venue and set up decorations.
If you’re sending out last-minute invites or reminders, this is also when knowing the true RSVP meaning becomes crucial. It helps you finalize guest numbers and coordinate catering or seating without surprises. - Emergency & contingencies: Have a plan for common issues: bad weather backup plan, extra beverages, a first-aid kit, point people for emergencies. Make sure contact lists (vendors, venue staff, key team members) are handy.
In these final stages, last-minute coordination is key. WildApricot’s event checklist advocates final checks: verifying ticket scanners, confirming staffing, and doing one more review of all plans. A final team meeting to go over the entire schedule (“day-of run-down”) can prevent miscommunications. Remember: it’s easier to have everything ready before the day, rather than scrambling.
Event Day

On the big day, keep this checklist handy and stay organized. Common advice for the event day includes:
- Arrive early and set up: Get to the venue well before guests. Set up registration/check-in area, place signage and decorations, and ensure all tables/chairs are arranged as planned.
- Vendor coordination: Confirm that all vendors have arrived and are setting up on schedule (caterer, AV, entertainment). Act as the point of contact for any questions they have.
- Test everything one more time: Do a final tech check (sound levels, Wi-Fi, laptops). Make sure registration computers/tablets are working and staffed.
- Final walk-through: Quickly inspect the space – lights, temperature, cleanliness. Check signage (restrooms, exits) and that registration and snack/water tables are ready.
Small touches matter on the event day too — even something as simple as knowing how to address an envelope properly for name cards or thank-you notes can enhance the overall professionalism and guest experience. - Review schedule with team: Meet briefly with staff/volunteers to confirm the timeline (who greets speakers, handles Q&A, announces sessions, etc.).
- Greet guests: Be visible and welcoming. Ensure the host or emcee is ready. Start the event on time with a brief welcome.
- Monitor and troubleshoot: Throughout the event, keep an eye on timing and flow. If issues arise (speaker delays, AV glitches, attendee concerns), address them promptly or delegate.
- Collect memories & feedback: Capture key moments with photos/videos if possible. Encourage social media sharing (event hashtag).

21Fun – Casino Party Rentals in California
Walls.io’s event-day checklist neatly captures these items, noting tasks like “Arrive early and inspect the venue,” “Set up signage and decorations,” “Confirm that all vendors have arrived,” and “Test all technical equipment”. By following a structured day-of checklist, you can minimize on-the-spot confusion and keep things running smoothly.
Post-Event Wrap-Up
When the last guest leaves, your work isn’t quite done. The post-event stage ties up loose ends and gathers insights:
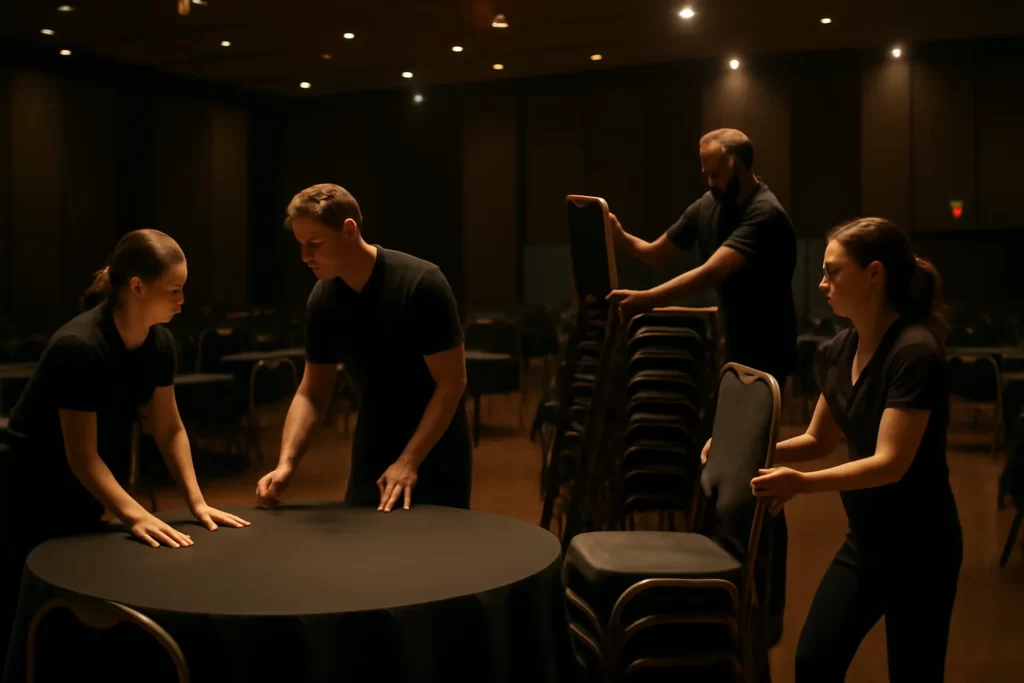
- Clean-up and Returns: Ensure the venue is left in good condition. Return any rented equipment or décor items. Dispose of trash and recyclables, or arrange for clean-up crews.
If your event included entertainment, you might already be thinking ahead about how much do DJs cost for weddings? or other gatherings. Factoring in these costs early helps you better budget for future events and avoid surprises during the wrap-up stage. - Settle finances: Review all invoices against the budget. Make final payments to vendors and reconcile actual costs vs. budget. (Savvy planners always leave a line item for “unexpected expenses” and close that now.)
- Thank-you notes: Send appreciation messages to everyone: sponsors, speakers, volunteers, staff, and even guests or donors. A simple email or card goes a long way.
- Gather feedback: Distribute surveys or conduct quick interviews to learn what went well and what could improve. Ask for honest feedback on everything from the venue to the food to the program.
- Evaluate success: Analyze event data and metrics. Compare attendance numbers and engagement against your original goals. Compile any key figures (registrations, donations, sales, etc.) into a summary report. Include photos or highlights to share with stakeholders.
- Debrief with your team: Meet with your core team to discuss lessons learned. Document any issues encountered and brainstorm solutions for next time.
And while post-event analysis is key, don’t forget the lighter side of celebrations too — such as planning bachelor and bachelorette parties for wedding-related events. These gatherings can be just as memorable as the main day itself, and often require the same level of thoughtful planning.
This post-event checklist ensures you close the loop. Time.ly emphasizes actions like cleaning up, paying bills, thanking participants, and analyzing results. Walls.io similarly recommends debriefing with the team, using surveys for feedback, and comparing actual spending to the budget. Taking these steps helps cement goodwill with attendees (through thank-yous) and improves your next event (through lessons learned).
Quick Tasks-by-Stage Summary
| Timeline Stage | Key Tasks & Checkpoints |
|---|---|
| Pre-Planning | – Define event goals, audience, budget, date, and venue – Form planning team, assign roles – Draft overall plan and timeline (exit strategy, contingencies) |
| Booking | – Finalize date and sign venue contract – Hire vendors (caterer, AV/tech, decor, photographers, entertainers) and sign their contracts – Arrange lodging/transport if needed; obtain permits/insurance |
| Logistics | – Brand and promote event (flyers, website, social media) – Launch and manage registration/tickets (early bird, waitlists) – Finalize program/agenda; confirm menus, layouts, equipment rentals; secure staffing and volunteers |
| Final Prep | – Confirm all details with vendors and staff – Conduct tech and safety checks (AV, security) – Assemble materials (signage, name tags, programs, swag) – Hold final run-through meeting; prepare backups (weather, extra supplies) |
| Event Day | – Arrive early to set up/check venue – Test sound, lights, registration tech; place signage and seating charts – Greet vendors/speakers; review schedule with team – Oversee execution (monitor timing, handle issues, document highlights) |
| Post-Event Wrap-Up | – Clean up venue; return rentals – Pay final invoices; tally actual vs. budget – Thank attendees/speakers/volunteers and solicit feedback – Debrief team; analyze outcomes and document lessons learned |
Resources, Tools & Templates
There are many tools and templates to streamline event planning. For instance, Trello, Asana or Google Sheets can turn your checklist into an interactive to-do list, making task assignment and progress tracking easy. Event management software (like Cvent, Social Tables, WildApricot, or Timely) offers all-in-one solutions for registration, agendas, and reporting, though these can be overkill for DIY events. WildApricot’s blog even suggests using QR-code apps to speed up check-in.
Many downloadable templates are available online. For example, Time.ly (Timely) provides a free event planning checklist template (Excel, Word, PDF) that covers each planning stage. Smartsheet’s content center has a library of free event planning spreadsheets and checklists, including an event budget, timeline, and vendor tracker. Adobe Acrobat’s guide also offers a downloadable event checklist PDF. Even Canva and Microsoft have pre-made calendars, budget planners, and invitation templates you can customize.
If you search for “event planner checklist near me,” you might find local vendors and resources, but remember: the core checklist steps apply universally. Use these templates and tools as a starting point, then adapt them to your event’s scale and location.
Sources:
Frequently Asked Questions
What ought to include on a checklist for event planners? ▾
An event planner checklist should cover everything from setting goals and budgeting to booking venues, hiring vendors, promoting the event, managing logistics, and post-event wrap-up. This ensures no detail is overlooked before, during, or after the event.
How long ahead of time should I begin organizing an event? ▾
Ideally, you should begin planning 6–12 months before the event, especially if you need to secure popular venues or vendors. It might just take a few months to prepare for smaller events.
Why is a checklist important for event planning? ▾
A checklist keeps you organized, prevents last-minute stress, and ensures critical tasks such as contracts, catering, or technical setups are not forgotten. It acts as a guide for you and your group.
What are the most common mistakes event planners make? ▾
Some of the biggest mistakes include not setting clear goals, underestimating the budget, starting too late, choosing the wrong venue, and failing to have backup plans for emergencies.
Can I use free event planning templates instead of hiring a professional? ▾
Yes, free event planning checklist templates can help individuals plan smaller events themselves. For larger or more complex events, a professional planner may still be helpful to manage details and reduce stress.
How do I manage vendors and suppliers effectively? ▾
Start by booking vendors early, sign clear contracts, and keep all communication documented. Using project management tools or shared checklists makes it easier to coordinate timelines and avoid miscommunication.
What should I do immediately after the event ends? ▾
Post-event tasks include cleaning up, paying invoices, thanking attendees and vendors, gathering feedback, and analyzing results compared to your goals. This step helps improve future events.
Related Post


Search by Category

Contact Us
Please provide your contact information with event details. You will be contacted soon.
